- Using CLOB columns in OBIEE 12c - 4. Mai 2019
This is a step-by-step guide on how to make CLOB columns accessible in Dashboards and Answers in OBIEE 12c. The guide is based on a sample dataset (including a clob column), which is stored in an Oracle Database 12.1.0.2.0 EE. Follow these steps and you will be successful in reporting on CLOB columns in OBIEE 12c.
Used technolgies for this guide:
- Oracle Database 12.1.0.2.0 Enterprise Edition
- Oracle Business Intelligence Administration Tool (Version 12.2.1.1.0)
- Oracle Business Intelligence Enterprise Edition (OBIEE) 12c (Version 12.2.1.1.0)
Our CLOB column (PRODUCT_DESCRIPTION) has entries with more than 7700 characters and belongs to the fact table (MART_FACT_ORDERELEMENT) of a dimensional order-entry model (OE Schema). The primary key ORDERELEMENT_ID is important for analysis which will be created later in OBIEE’s frontend.

Step (1):
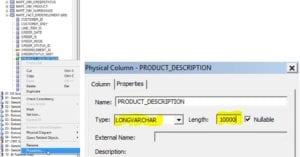
In the Administration tool’s physical layer, we assign the LONGVARCHER data type to the CLOB Column and increase the maximum length of it to a proper value. The length of the column’s biggest entry can be queried by using the statement:
Select max(length(PRODUCT_DESCRIPTION)) from MART_FACT_ORDERELEMENT
The maximum size is 32 Kilobytes or 32678 Characters.
Step (2):
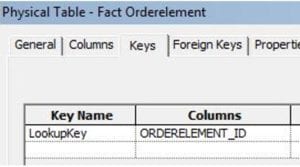
In our case, we already have an existing alias table (Fact Orderelement). That is why we need to copy the column to that alias table. Afterwards we have to define a key (if you do not use alias tables, then you need to define the key in the original physical table – but I would recommend using alias tables in any case). Our key will be the column ORDERELEMENT_ID.
Step (3):
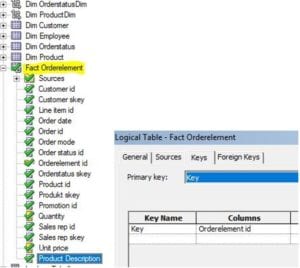
Now we drag and drop the CLOB column inside the corresponding fact or dimension table found in the logical model. This logical table should also have the same key as the physical or the alias table.
Step (4):
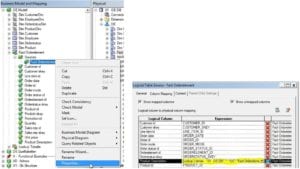
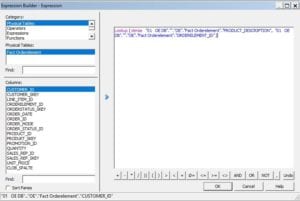
Right after step 3 we have to define our CLOB column PRODUCT_DESCRIPTION in the source of the logical table with the statement:
LOOKUP (DENSE CLOB Column, PK Column)
In our case it would be:
Lookup ( dense “01 OE DB”.“”.“OE”.“Fact Orderelement”.“PRODUCT_DESCRIPTION”, “01 OE DB”.“”.“OE”.“Fact Orderelement”.“ORDERELEMENT_ID” )
Step (5):
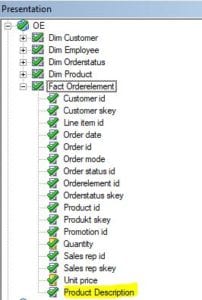
In this step, we finally drag and drop the column into the presentation layer.
Step (6):
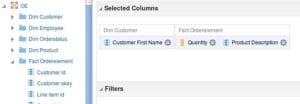
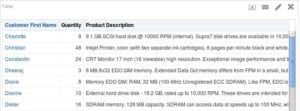
After we are done with step 5, we are able to use the CLOB column for analysis in our BI report.
I hope this guide will help you to bring the clob columns to your reports!


